| Routines |
| Prev: FEF9 | Up: Map | Next: FF3A |
|
|
|||||
|
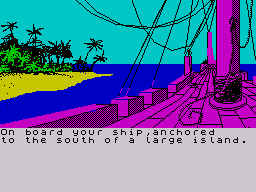
Displays the image for the boat.
|
|||||
| DisplayImage_Boat | FEFA | LD IX,$607C | IX=Image_Boat. | ||
| FEFE | JR Handler_Images | Jump to Handler_Images. | |||
|
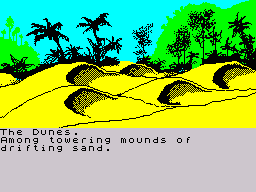
Displays the image for the sand dunes.
|
|||||
| DisplayImage_SandDunes | FF00 | LD IX,$6CA4 | IX=Image_SandDunes. | ||
| FF04 | JR Handler_Images | Jump to Handler_Images. | |||
|
Displays the image for the bridge.
|
|||||
| DisplayImage_Bridge | FF06 | LD IX,$7731 | IX=Image_Bridge. | ||
| FF0A | JR Handler_Images | Jump to Handler_Images. | |||
|
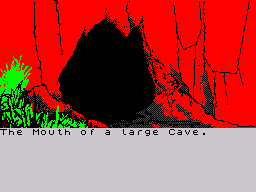
Displays the image for the cave.
|
|||||
| DisplayImage_Cave | FF0C | LD IX,$8171 | IX=Image_Cave. | ||
| FF10 | JR Handler_Images | Jump to Handler_Images. | |||
|
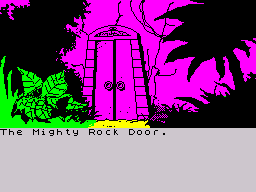
Displays the image for the door.
|
|||||
| DisplayImage_Door | FF12 | LD IX,$8BC3 | IX=Image_Door. | ||
| FF16 | JR Handler_Images | Jump to Handler_Images. | |||
|
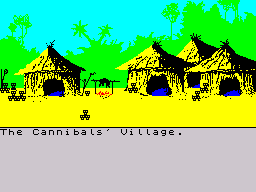
Displays the image for the huts.
|
|||||
| DisplayImage_Huts | FF18 | LD IX,$966A | IX=Image_Huts. | ||
| FF1C | JR Handler_Images | Jump to Handler_Images. | |||
|
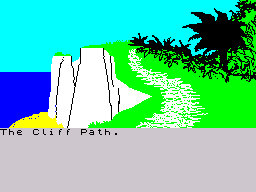
Displays the image for the cliffs.
|
|||||
| DisplayImage_Cliffs | FF1E | LD IX,$A042 | IX=Image_Cliffs. | ||
| FF22 | JR Handler_Images | Jump to Handler_Images. | |||
|
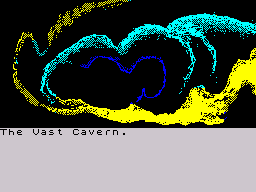
Displays the image for the cavern.
|
|||||
| DisplayImage_Cavern | FF24 | LD IX,$A958 | IX=Image_Cavern. | ||
| FF28 | JR Handler_Images | Jump to Handler_Images. | |||
|
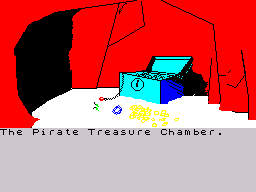
Displays the image for the treasure chest.
|
|||||
| DisplayImage_Treasure | FF2A | LD IX,$B2A7 | IX=Image_Treasure. | ||
|
All the image routines use this same routine.
|
|||||
| Handler_Images | FF2E | CALL Print_RoomImage | Call Print_RoomImage. | ||
| FF31 | LD A,$08 | Call Print_RoomDescription and use line number 08 to start printing. | |||
| FF33 | CALL Print_RoomDescription | ||||
| FF36 | CALL GetUserInput | Call GetUserInput. | |||
| FF39 | RET | Return. | |||
| Prev: FEF9 | Up: Map | Next: FF3A |